1. Login to your SolusVM Control Panel.
2. If you have multiple VPS, select the appropriate one.

3. Scroll down and you can see a "VNC" option. Click it!

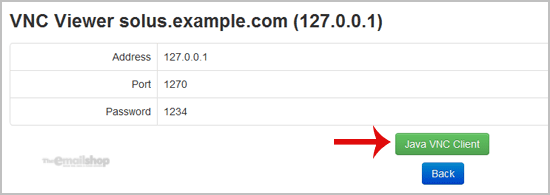
4. The new VNC page will open. Click on "Java VNC Client" or on "VNC".

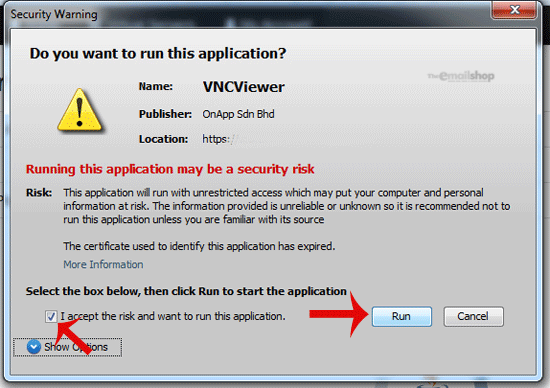
5. It will prompt for confirmation. Click "Ok" or "Continue" and it will show "Security Warning". If it looks OK, accept it and click the "run" button.

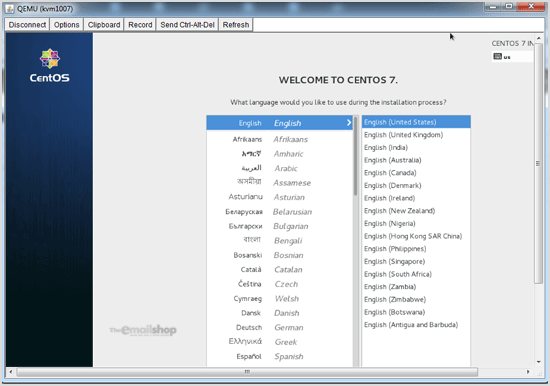
The VNC Area will resemble the following screenshot:

Note: If you get any errors like "Java Blocked", you will need to white-list our VPS control panel domain in your Java Security List. Then it will show "Java plugin not installed", after which you can install the Java software on your computer.


