
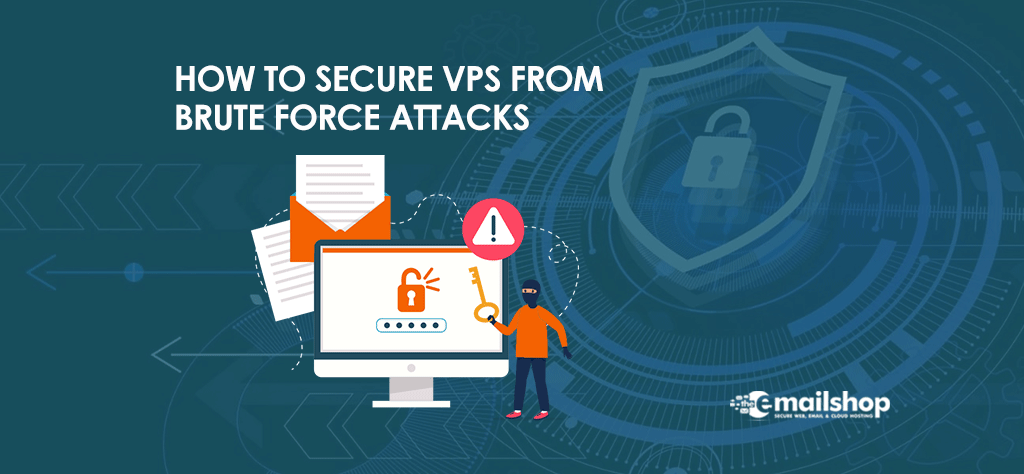
An automated effort to guess your passwords or passphrases, or to locate hidden pages or material. This kind of assault may occur on a dedicated or virtual private server. The fact that it takes a long time to steal long or complicated passwords is one reason why security experts always recommend using them.
Installing the cPanel add-on called cPHulk, which is meant to stop brute-force attacks, is the best way to keep malicious users from taking advantage of your Linux server.
Overview
cPHulk is a service that defends your server against brute force assaults. This interface gives you the ability to modify it so that it meets your needs. In a brute force attack, an automated system is used to try to guess your web server’s or services’ passwords.
cPhulk is capable of monitoring all of the web servers and services listed below:
- cPanel services (Port 2083).
- The services of the WHM (Port 2087).
- Postal delivery services (Dovecot and Exim).
- Access to the Secure Shell (SSH) protocol and the Pure-FTPd service
When cPHulk prohibits an IP account, or address it does not expose itself as the entity that first took the step to prohibit access to the resource in question. On the other hand, the page that users are prompted to log in on displays the following warning message: The information that you entered for the login is incorrect.
- The usage of public key authentication by the server is unaffected by the use of cPHulk in any capacity. In the event that cPHulk locks one user or all users out of the site, you will be able to login to your server by using public keys and API tokens. This is the case even if cPHulk locks out an individual account.
- cPHulk does not count as distinct failures repeated login attempts that occur within the same six-hour period and utilise the same IP address, username, and password. These attempts must take place within the same hour.
- Read our guide on cPHulk Management on the Command Line if you want to learn how to manage cPHulk using the command line.
- The cPanel Support IP addresses are added to the whitelist of cPHulk whenever a new support ticket is created using the Create Support Ticket interface (located in WHM >> Home >> Support >> Create Support Ticket).
- Turn on cPHulk On the server
- cPHulk may be turned on by setting the toggle to the On position.
- A conflict will occur between the UseDNS option and cPHulk’s whitelist in the event that an attacker forges a DNS pointer record in order to impersonate a trustworthy hostname. This enables the attacker to carry out an attack using brute force against the server, with an infinite number of tries to log in. When you activate cPHulk, the system responds by turning off the UseDNS option because of this.Configure cPHulk
Configuration settings
You have the ability to set the following parameters for the Configuration Settings:
Protection depending on the user’s username.
- Select the Username-based Protection Settings option. This option determines whether or not the username-based protection settings are enabled. To activate the setting for Username-based Protection, configure the toggle so that it is in the On position. Protection for user accounts that is based on the username logs each attempt to log in. If you deactivate cPHulk, any account locks that were previously set will not be removed. By default, this parameter is turned on.
-
Take note:
- In order for this setting to take effect, you must first click the Save button.
- When a username-based brute force assault is detected, the server will not send out any messages.
- Brute Force Protection Period (in minutes) is the amount of time cPHulk uses to track each login attempt to a specific user’s account. This value is always set to 5 by default.
- cPHulk will consider this to be an instance of brute force login attempt if more than one attacker is attempting to get in at the same time and they hit the account’s Maximum Failures by Account value within this time period.
- cPHulk prevents logins to that account from any IP address, whether the attackers use a single or multiple IP addresses.
- For this setting, provide a number that falls between 1 and 1,440.
-
Maximum Failures per Account
During the Brute Force Protection Period, the maximum number of failures that are permitted per account by cPHulk (in minutes). This number is set to 15 by default when it is first established.
- If a user account has been the object of a brute force attack that has reached this number of attempts, the system will freeze the account. This will occur regardless of the IP addresses of the individuals who attempted to access the account.
- cPhulk will lock you out of the account for one minute for each unsuccessful login attempt that you let it have while you have this option enabled. If you choose 15 for the value of the Maximum Failures per Account option,for instance, cPHulk will freeze the account for 15 minutes after the user makes 15 unsuccessful attempts to log in.
- If you change this value to 0, cPHulk will prevent all successful login attempts (this includes the root account). You will need to whitelist your IP address in order to get around this lockout.
4. Take the necessary precautions
Choose one of the following options from the drop-down menu to change how cPHulk protects your files:
- Limit protection to only be applied to local addresses; in the case of username-based protection, this means that it will only be activated in response to requests from the local system. Because of this, it is impossible for a user to attempt to brute-force the passwords of other users on the same server. This is the option that is used by default.
- Extend the protection so that it encompasses both local and distant addresses. Permit the protection based on the username to be applied to any and all requests, irrespective of their point of origin.
5. Allow username protection to lock the “root” user
Determines whether or not to apply rules based on a username to the root user in order to provide protection. When the dialogue box is first launched, the checkbox’s default setting is clear.
6. IP Address-based Protection
- Select whether or not to enable the IP-based protection settings. To activate the IP Address-based Protection setting, configure the toggle so that it is in the On position. A security system that is based on IP addresses monitors login attempts coming from certain IP addresses. Any account locks that were previously in place will not be removed when you deactivate cPHulk. By default, this parameter is turned on.
Note:
you will need to choose the Save option before putting any of your adjustments into effect.
7. Relying on IP Addresses
The amount of time, in minutes, that cPHulk spends monitoring all login attempts made from an attacker’s IP address during the Brute Force Protection Period. The following are examples of what cPHulk considers to be brute force attacks:
- Attackers originating from a certain IP address make many failed attempts to log in using a variety of usernames and passwords.
- They have reached the maximum number of failures allowed per IP address.
Note:
- cPHulk takes a reading of the attacker’s Internet Protocol address for the amount of time that you specify, in minutes.
- It is not possible to measure all IP addresses using cPHulk.
8. Maximum Failures per IP Address
The maximum number of times an aspiring attacker using a certain IP address is allowed to try and log in unsuccessfully before having that IP address blacklisted by cPHulk. If you set this value to 0, cPHulk will block any and all attempts made to login (this includes the root account). In order to avoid being locked out of this account, you will need to add your IP address to a whitelist. This number always defaults to 5, regardless of what you do.
9. Command to Be Carried Out in the Event That Brute Force Protection Is Triggered by an IP Address
When Brute Force Protection Is Engaged Because of an IP Address The full path to a command that you want the system to run whenever a threshold for the protection against brute force attacks against an IP address has been met. If you read the part that is below this one titled “Command variables,” you will see a list of variables that you may use in this command.
10. Whether or not you want the firewall to automatically add IP addresses that trigger brute force protection
You have the option to specify whether or not IP addresses should be blocked at the firewall level if they activate brute force protection.
Note:
- Selecting this option will build a new iptables rule; however, you must be using an iptables version that is 1.4 or above in order to block IP addresses at the level that is based on IP addresses.
- Virtuozzo does not provide this particular configuration option.
One-day blocks
- The maximum number of attempts that may be made on a single IP address before that address is blocked for one day This parameter defines the maximum number of times an attempt login from the a specific IP address may fail before cPHulk bans this IP handle for a period of one day. cPHulk bans IP addresses for a period of one day. This option always defaults to 30, regardless of what you choose.
- Command to Carry Out in the Event That an IP Address Results in a Block for 24 Hours — The full path to the function that you want the system to run whenever it blocks an IP address for a period of twenty-four hours or more. If you read the part that is below this one titled “Command variables,” you will see a list of variables that you may use in this command.
- If an IP address results in a temporary block of one day, the firewall should immediately add it to the block list. This option allows the user to choose whether or not IP addresses that result in a one-day block are added back to the block list maintained by the firewall. It is important to have iptables version 1.4 or a later version in order to use this option since it generates a new rule for iptables. This checkbox already has its default setting of “selected.”
Note:
- Selecting this option will build a new iptables rule; however, you must be using an iptables version that is 1.4 or above in order to block IP addresses at the level that is based on IP addresses.
- Virtuozzo does not provide this particular configuration option.
Histories of Logins.
- This parameter defines for how long the system shows unsuccessful login records on the History Reports page. The unit of measure is minutes. In addition to this, it establishes the maximum amount of time in minutes that an adversary has to change each of the following parameters in the system:
- The Greatest Number of Failed Accounts
- Maximum Failures per IP Address
- The maximum number of unsuccessful login attempts allowed per IP address before that address is blocked for one day
Notifications
- Send a notice upon effective root login when the Ip is not on the checkbox, Appears to indicate whether or not you want to be made aware if the root user successfully wants to sign in from an Ip that does not already exist in the whitelist.
Note:
A particular combination of login, service, and IP address will only get one notice from the system throughout any given period of twenty-four hours.
- Send a notification upon fruitful root login when the IP address is not on the whitelist but from a known netblock — Whether or not you want to receive an alert when the root user has successfully logs in from an IP address that does not exist in the whitelist but does exist in a known netblock.
- Upon a successful root login, if the IP address is not on the whitelist but originates from a recognised netblock, send a message to the system administrator. When the dialogue box is first launched, this checkbox will have no selection in it.
Notify me when the system detects a brute force user
This option allows you to choose whether or not you would want to be notified whenever cPHulk identifies an attempted brute force assault. This checkbox is deselected by default when it’s opened.
For Discount and Offers, Visit our Official Twitter Page